These instructions are for setting up a prayer campaign and a accompanying display page.
Requirements:
- A Disciple.Tools Instance
- The Prayer Campaigns Plugin
- A WordPress page on a separate WordPress instance or on a D.T instance
Setting up the Campaign
1.Enable the Prayer Campaigns Plugin on your D.T instance
You should see the Campaigns tab on your nav bar:

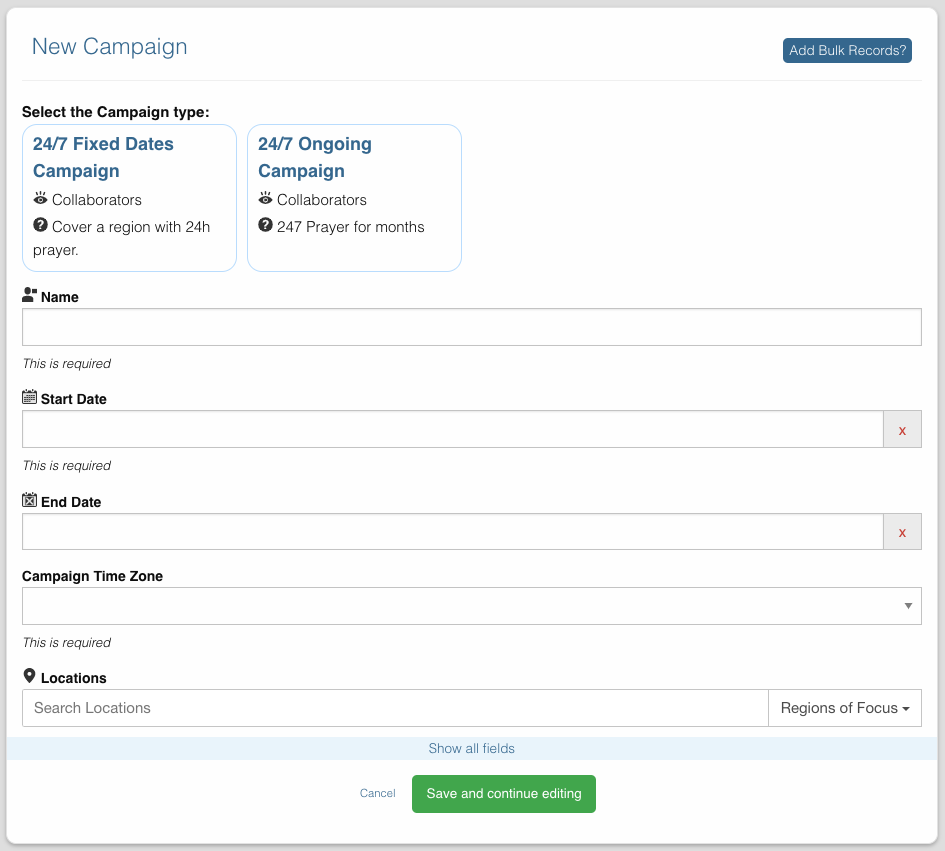
2. Create a new campaign
Make sure all the required fields are filled out:

By default the Campaign’s status is “Active”.

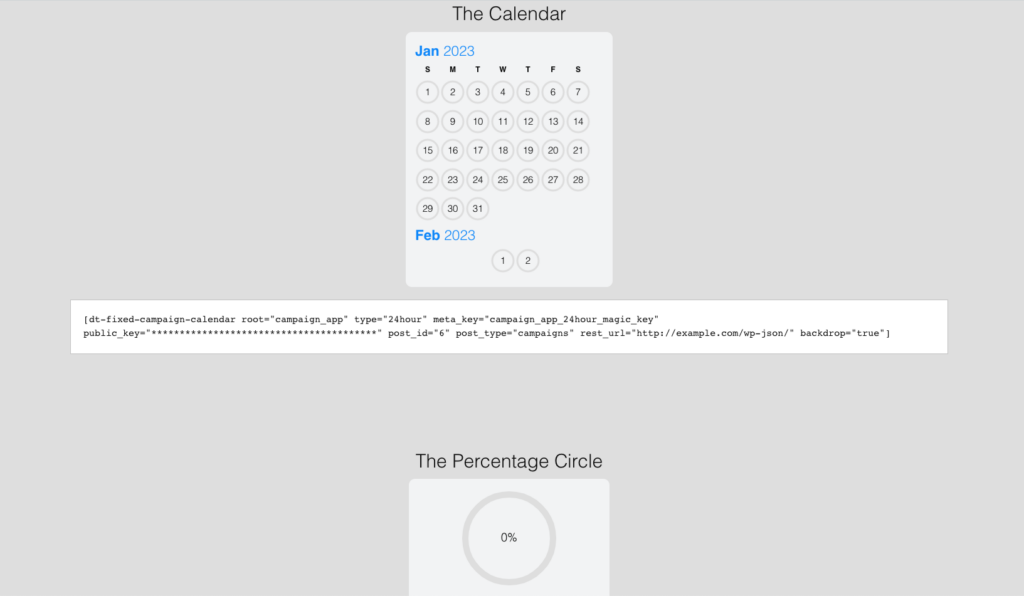
On the new campaign click on the “View Components” Button to see the pieces.
It should look something like this:

Setting up the Landing Page
Now let’s move on over to your non-D.T WordPress site.
Make sure you have the Prayer Campaigns plugin installed and activated on the instance where you are creating this landing page.
On the campaign we created above, under the “View Components” screen you will find shortcodes.
They look something like this:
[dt_campaign root="campaign_app" type="24hour" public_key="*******************************" meta_key="campaign_app_24hour_magic_key" post_id="73" rest_url="http://example.com/24/wp-json/" lang="en_US"]This is a WordPress “shortcode” and it can be pasted into any Worpdress page.
Once you paste in a shortcode, it will display like the one of the widgets shown in the “View Components” screen.
Click here for a full list of all the available prayer widgets and their shortcodes
You are free to design the Landing page that will work the best for your Prayer Campaign.
The editor will look like this:

And will be displayed like this:
