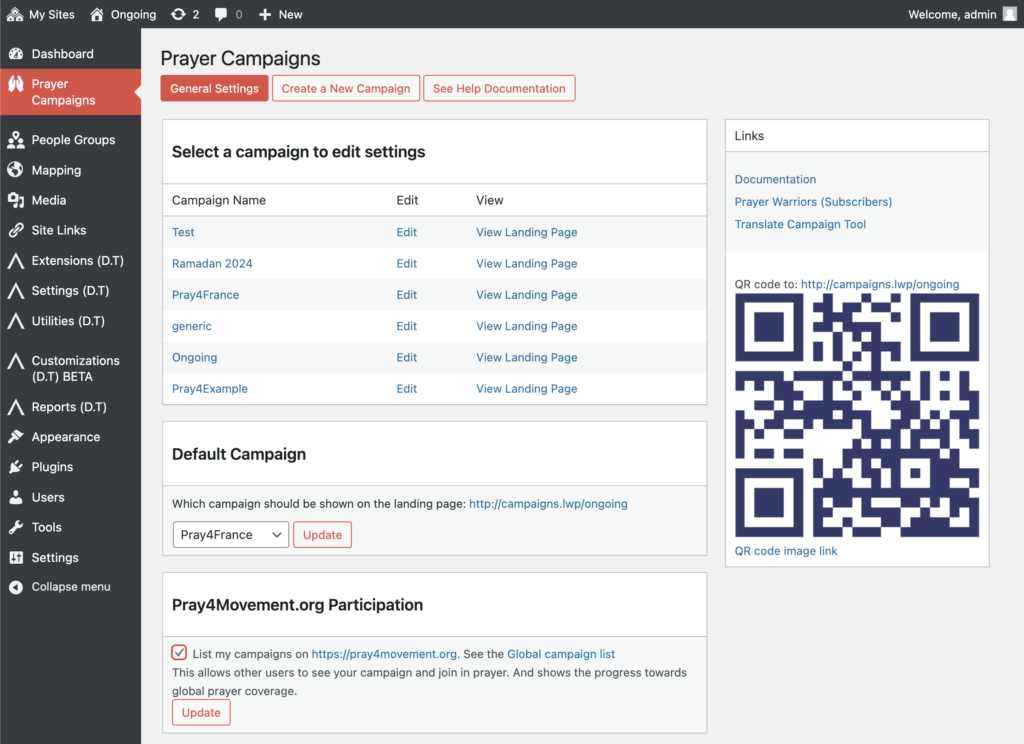
Log in to the WP Admin setting and click the “Prayer Campaigns” menu tab. Or scroll down to the bottom of your landing page, click “Campaign Settings” and then click “General Settings”.

There are 4 sections in the general settings screen:
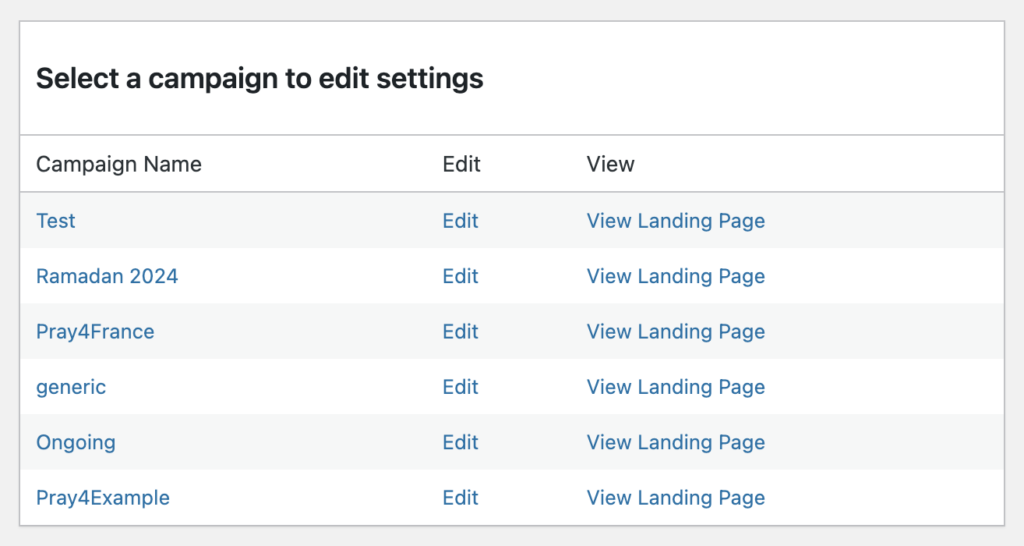
- Select a campaign to edit settings
- Default Campaign
- Prayer.Tools Participation
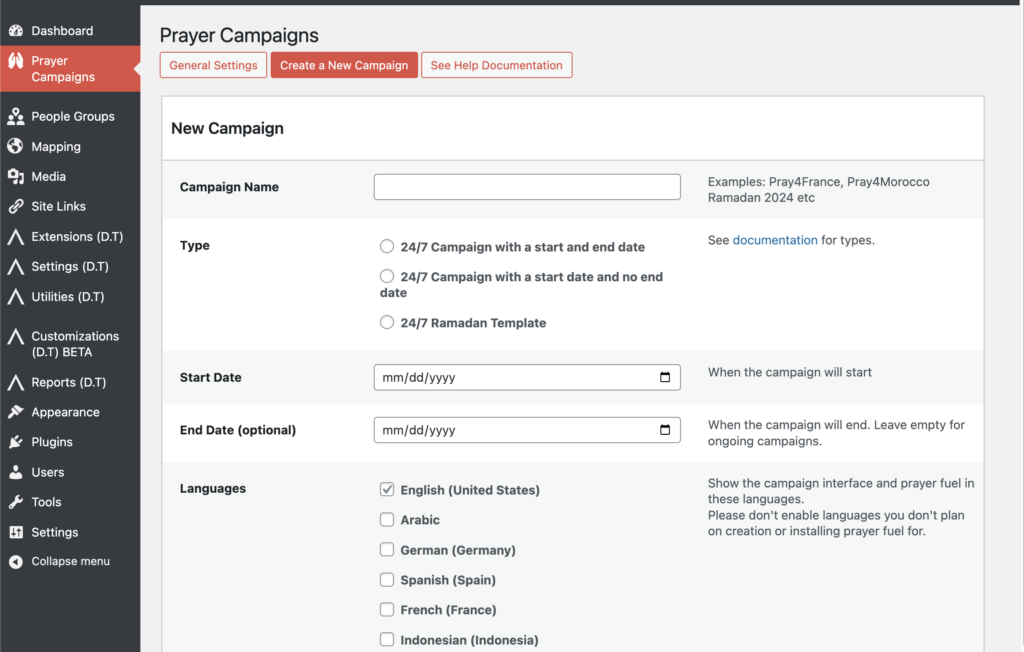
- Create a New Campaign
Select a campaign to edit settings

See the list of your created campaigns. Click on any of them to edit the the campaign. You’ll be able too
- Change the campaign name
- Change campaign settings like start and end date
- Change the landing page text and translations
- Change landing page settings like colors, images and links
- Add campaign prayer fuel
Click “View Landing Page” to access each campaigns url.
Default Campaign

Each campaign gets its own url. But you can also choose to have a campaign show when going to your main url.
You might want to change the default campaign after creating a a new campaign.
You can set the option to “none” to set up a custom porch or to show Disciple.Tool’s default login page.
Prayer.Tools Participation

Prayer is better together. We love celebrating and praying with you. If you don’t want your campaign listing on Prayer.Tools, then you can uncheck this box.
Create a New Campaign
To create your first campaign or add another one to the 50 you are already running, head over to the “Create a New Campaign” tab.
Fill out the fields and hit “Create Campaign” and you are off and running. Have questions? Check out the forum.
